Photographing Fly Fishing Without Hurting the Fish
Light, composition, ethical handling and the geotagging question — how to make images worth keeping.
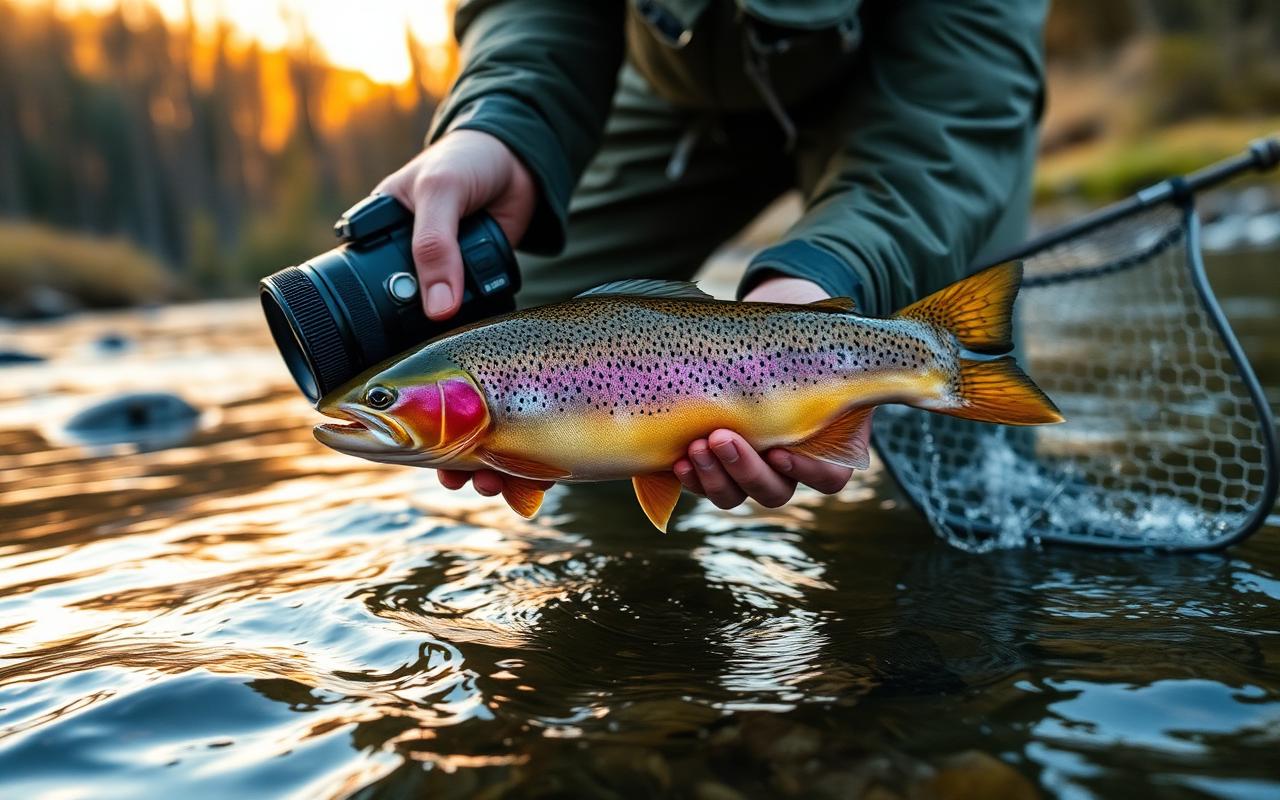
Fishing photography has exploded with social media, and with it a set of problems: prolonged air exposure for photo setups, misleading perspective shots, and geotagging that puts fragile fisheries under sudden pressure.
Fly fishing generates more photographs than almost any other outdoor pursuit, and the overwhelming majority of them are bad in the same three ways: the fish is held at arm's length toward the lens, the light is a flat midday glare, and the frame contains no information about where or why. Making better images is not primarily a gear problem. It is a decision problem — about what to shoot, when to shoot it, and what you are willing to give up in order to get it.
The ethical frame comes first
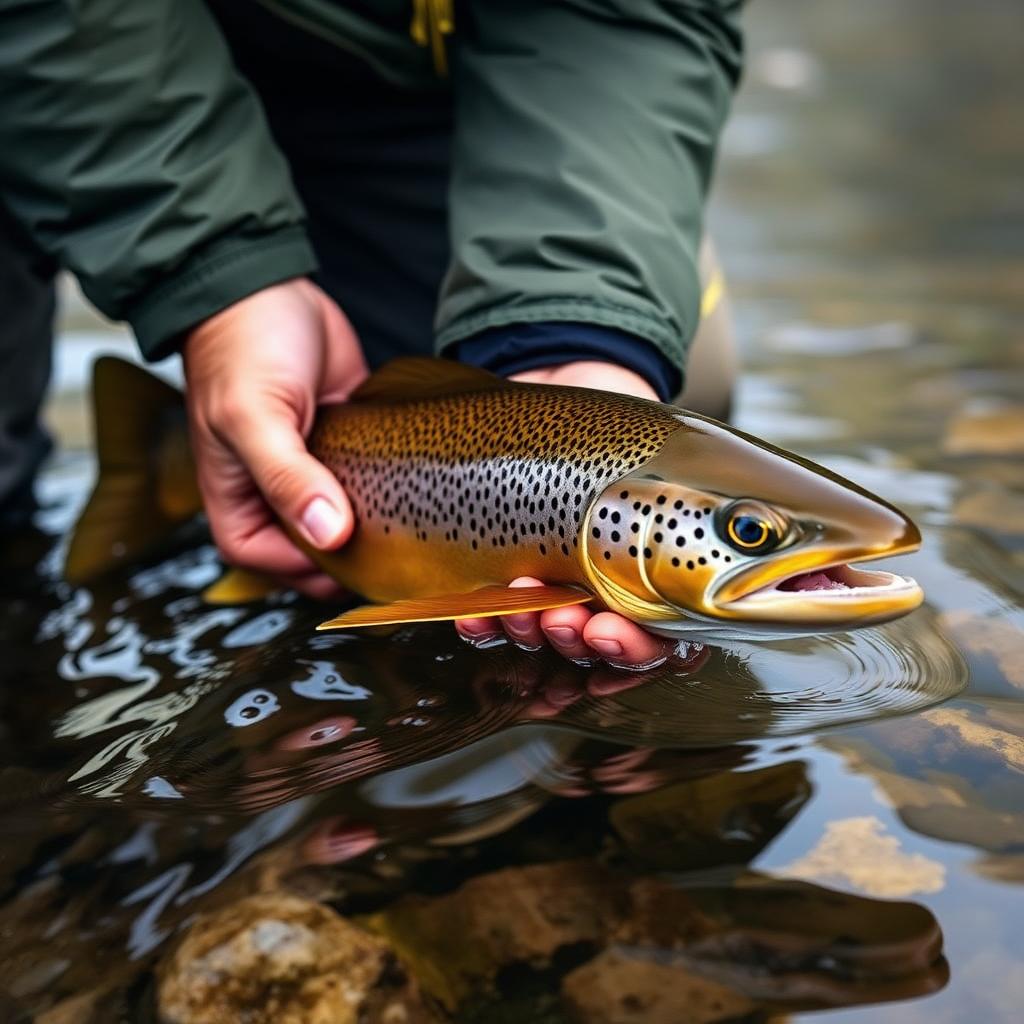
Any conversation about fishing photography that does not start with the fish is a conversation about vanity. Every second a trout spends in air is a cost paid by the animal so you can have an image. The discipline is simple and non-negotiable: have the camera ready before the fish comes to the net, keep the fish in the water in the net while you set up, lift for a maximum of a few seconds, and shoot with the fish low, wet, and over water so a drop returns it to the river.
Better still, learn to love the images that require no lift at all: the fish half-submerged in the net, the fish's flank underwater with the fly visible in its jaw, the release shot as it drives out of your hands. These are more interesting photographs than the arms-extended grip-and-grin anyway, because they contain water, motion, and context.
Gear that actually earns its weight
- Phone: modern flagship phones are entirely sufficient for ninety percent of fishing photography and are the only camera you will always have. Learn its manual mode and its water resistance limits.
- Mirrorless body: worthwhile when you want low-light performance and shallow depth of field. Weather sealing matters more than megapixels.
- One zoom, one prime: a 24-70 equivalent covers almost everything; a fast 35mm or 50mm handles dawn and dusk.
- Circular polariser: the single most valuable accessory in fishing photography. It cuts surface glare and lets the camera see into the water.
- Dry bag and a microfibre cloth: gear that gets wet stops working; a lens with a water droplet on it ruins every frame until you notice.
Light, and why midday is a trap
Fishing hours and photography hours overlap imperfectly. The best light is the first ninety minutes after sunrise and the last ninety before sunset — low, warm, directional light that models texture and puts colour into water. Midday sun is high, hard, and contrasty; it blows out the highlights on a wet fish and drops the angler's face into shadow under a cap brim.
If you must shoot at midday, use the polariser, expose for the highlights, and look for open shade or backlight. Overcast days, which anglers curse, are photographic gifts: soft even light, saturated greens, and no harsh shadow across the subject.
Composition for a sport that is mostly waiting
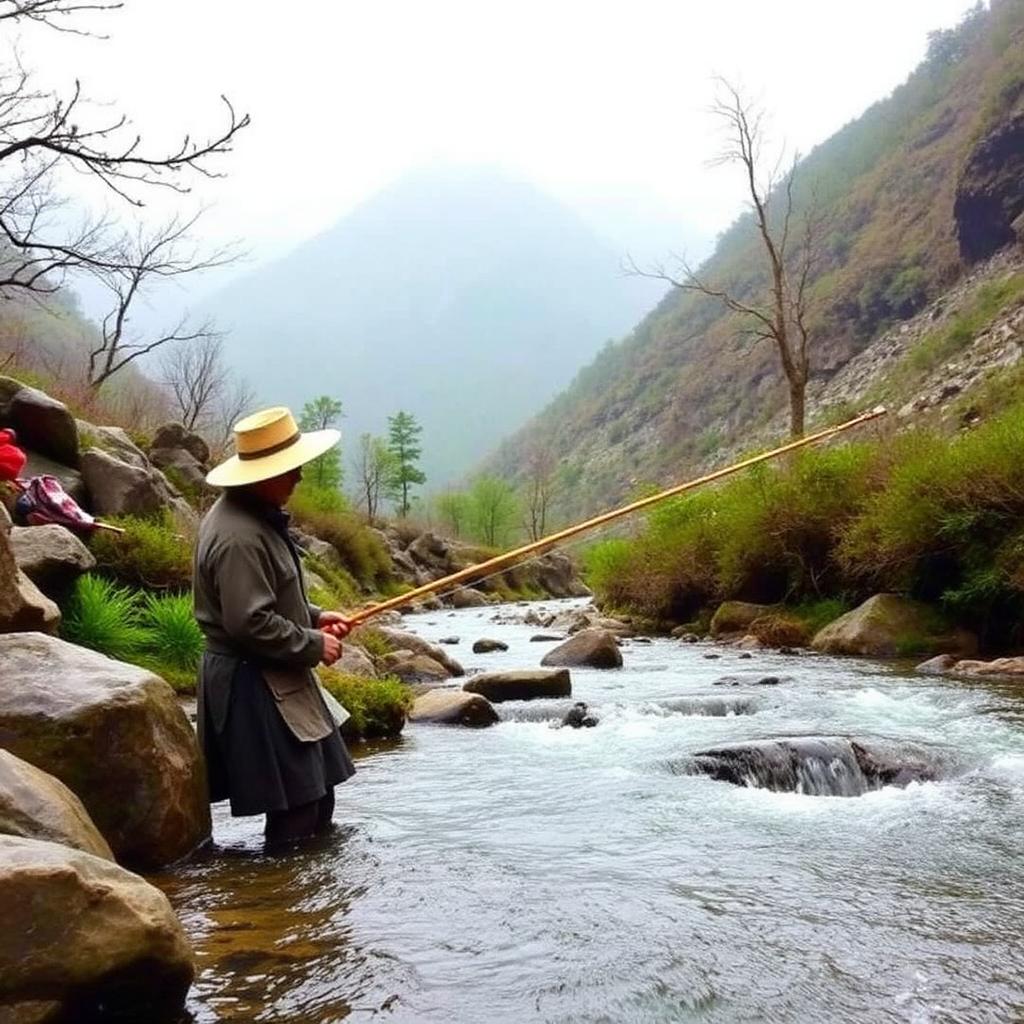
The strongest fishing images usually contain three things: a person, a place, and an action. Remove any one and the frame weakens. A landscape with no angler is a landscape. An angler with no place is a portrait. An angler in a place doing nothing is a snapshot.
Practical rules that improve most frames immediately: get low, so the water dominates the foreground; shoot through something — grass, a branch, spray — to build depth; place the angler small in a big landscape when the story is the place, and fill the frame when the story is the moment; and keep the horizon level, because a tilted river reads as an error rather than a style.
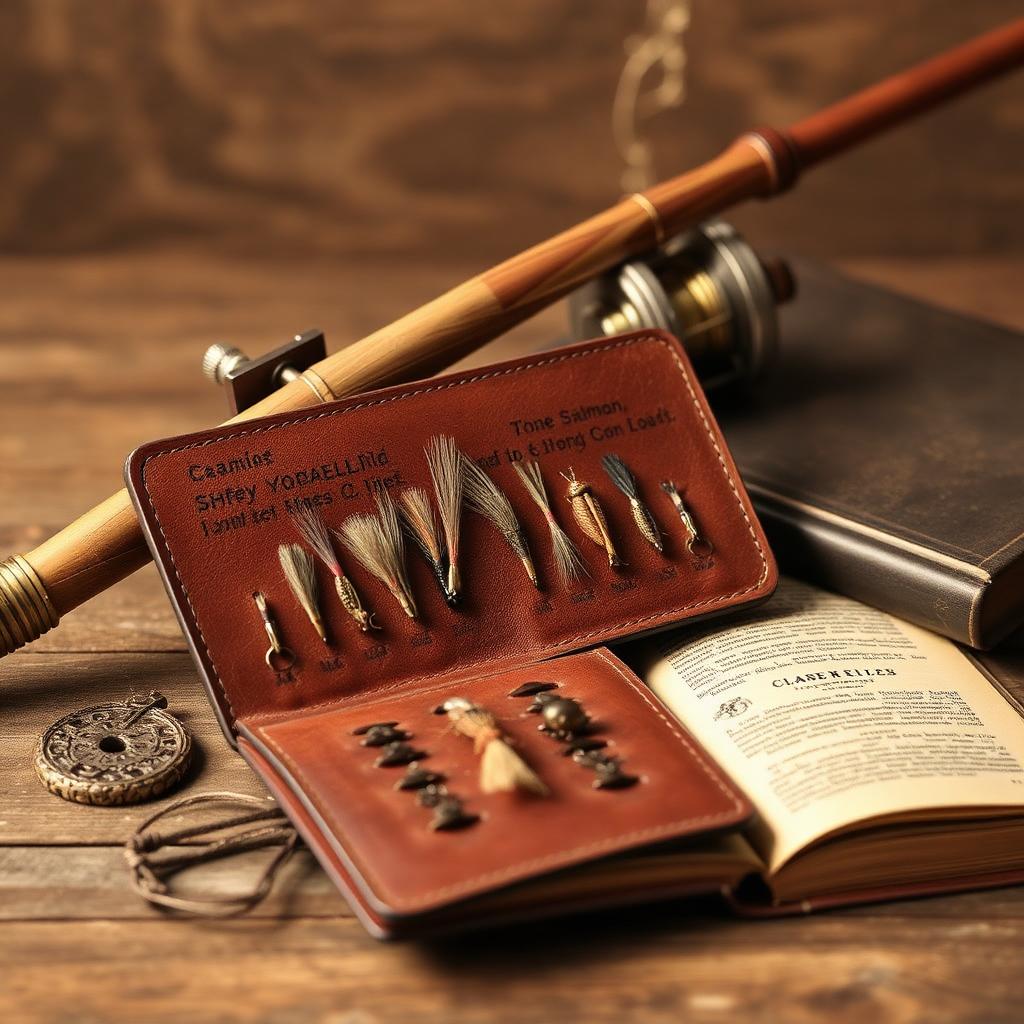
Look for the moments between the obvious ones. Line loops in low light. Hands tying a knot in the rain. Steam off a coffee cup at the tailgate. A fly box open on a rock. Those images are usually stronger than the hero shot and are unambiguously ethical to make.
Shooting the fish well
When a fish photo is warranted, the technique is specific. Wet your hands. Keep the fish over the net or over water. Support it horizontally with two hands, one under the pectoral fins, one lightly at the wrist of the tail — never squeeze the belly or hold vertically by the jaw. Angle the fish slightly toward the light so the flank colours read. Shoot fast, in burst, and check nothing until the fish is back in the water.
Frame tight enough that the fish is the subject and loose enough to include the river behind it. Avoid the extended-arms perspective trick — experienced anglers read it instantly and it makes an honest fish look dishonest.
A workable editing philosophy
Shoot RAW if your camera allows it, and edit toward what the day actually looked like rather than toward a preset. Recover highlight detail in the water, lift shadows a touch, add clarity sparingly, and be conservative with saturation — the orange-and-teal treatment that dominates outdoor social media flattens the subtle greens and browns that make river photographs beautiful.
Straighten, crop, remove a distracting bright object at the edge of the frame, and stop. Ten strong images from a trip serve you better than two hundred adequate ones.
Publishing responsibly
Geotagging deserves a hard conversation. Publicly tagging a small, fragile, or unpressured fishery has demonstrably ruined access and fish populations in multiple documented cases — a single viral image can put fifty new anglers on a spring creek within a season. The convention among thoughtful anglers is now to tag by region rather than by river, and to name specific water only when it is large, publicly managed, and already well known.
Credit the guide, the shop, and the landowner who made the day possible. Ask permission before posting recognisable photographs of other people. And when you post a fish, post the handling too — an image that shows wet hands and a fish over water teaches something to every angler who sees it.
Building a body of work
Shoot the same water repeatedly across a whole season. The photographer who visits ten famous rivers once each returns with ten postcards; the one who photographs a single home river through ice, runoff, hatch, drought, and autumn returns with a story. Familiarity gives you the thing no equipment can buy: knowing where the light will fall at seven in the morning in September, and being there.
Carry a circular polariser and use it. It is the only accessory that lets a camera see into the water the way your polarised sunglasses do, and it transforms river photographs.
Frequently Asked
- Do I need a real camera?
- No. A modern phone with a polariser held over the lens covers most fishing photography. Dedicated bodies help mainly in low light.
- How long can a fish be out of water?
- As briefly as possible — a few seconds. Set up the shot before the fish leaves the net.
- Should I geotag my photos?
- Tag by region, not by specific small water. Viral images have measurably damaged fragile fisheries.
- What is the best time of day to shoot?
- The ninety minutes after sunrise and before sunset. Overcast days are also excellent.